Chapter 8 – EnCase Walkthrough
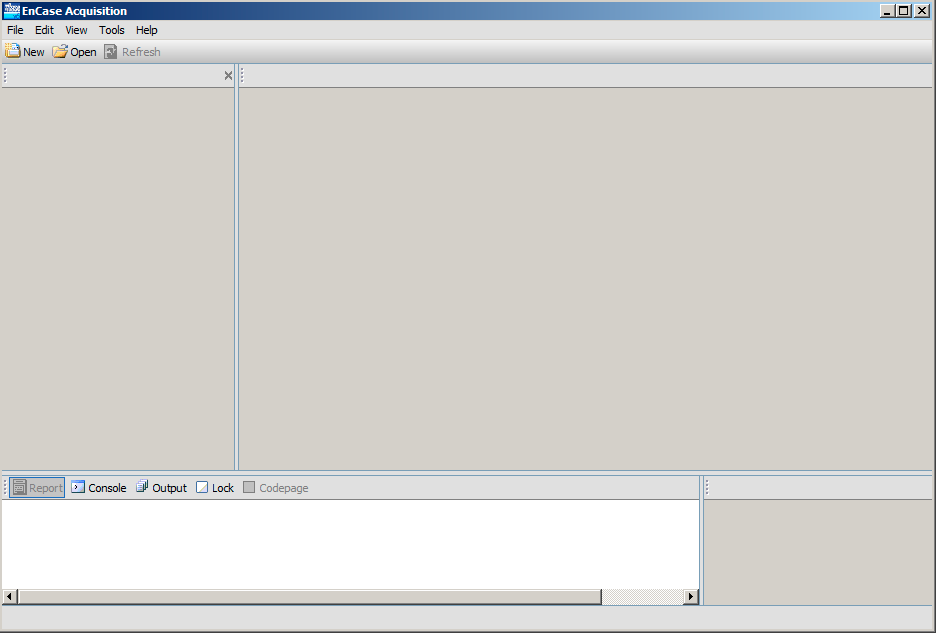
Next, we walk through the same scenario as we did with FTK Imager. We will create an image of a physical drive that is already attached to the system through a physical write blocker. You must have EnCase fully installed, and then launch the application. The main screen, showing acquisition mode, appears as shown below.
Go to the File menu and select New Case. Enter your case information and your name. This information will be saved in the output files. The window will resemble that shown below.

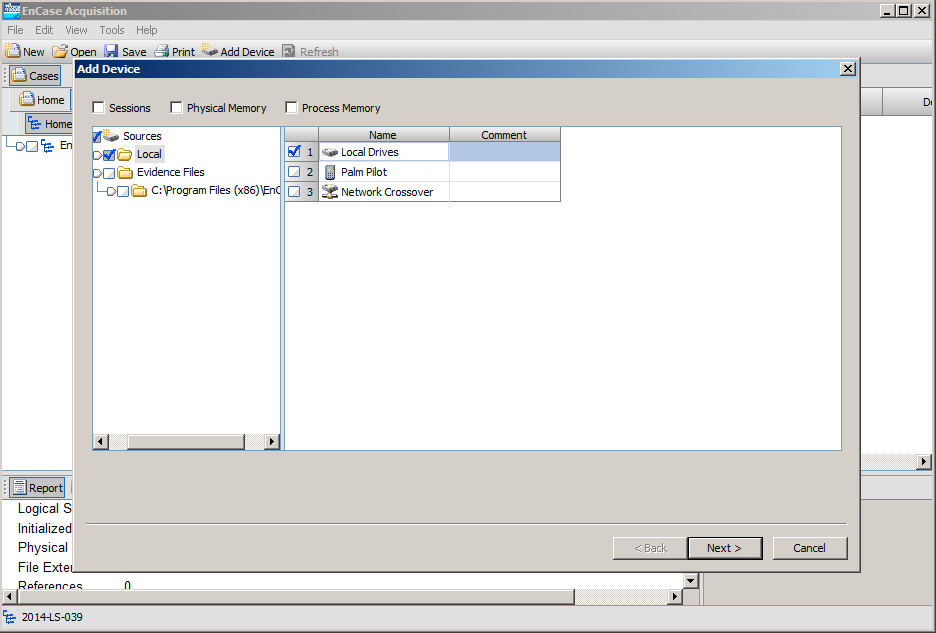
The window shown below will appear, and EnCase will show a list of possible source types. In this case we are creating an image of a local drive, so you need to double-click the cell for row item 1, labeled “Local Drives.” Alternatively, you can click the checkmark associated with Local Drives and then click Next.
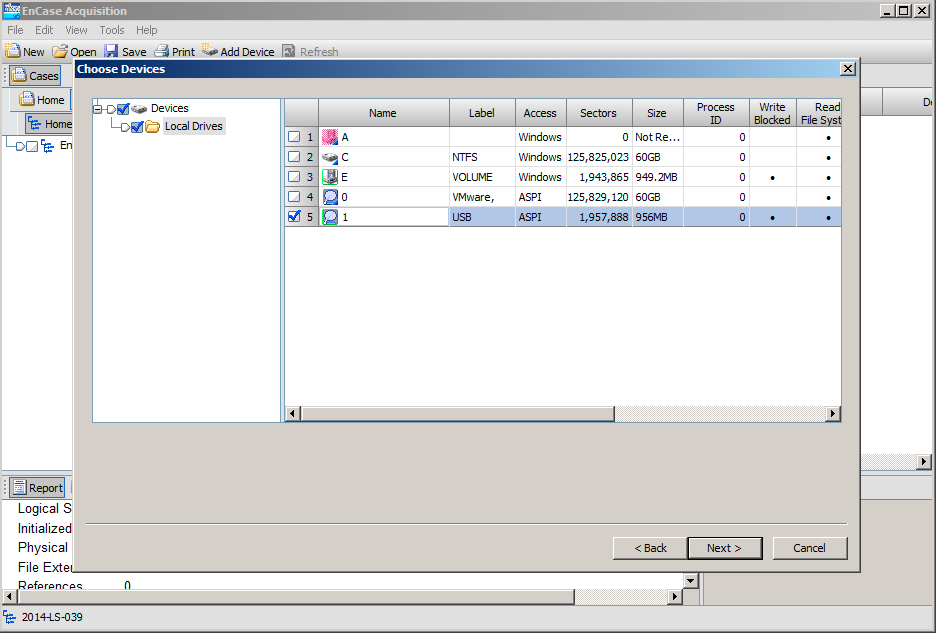
EnCase will poll the system for attached media and then present a list, as shown below. Most media will appear at least twice—EnCase presents both the physical and logical devices in this list. You will see that some entries have a small picture of a hard drive next to them; these entries are for physical devices. Click the checkmark next to the device you intend to create an image of and then click Next. Recall that we want to collect an image of the physical device.
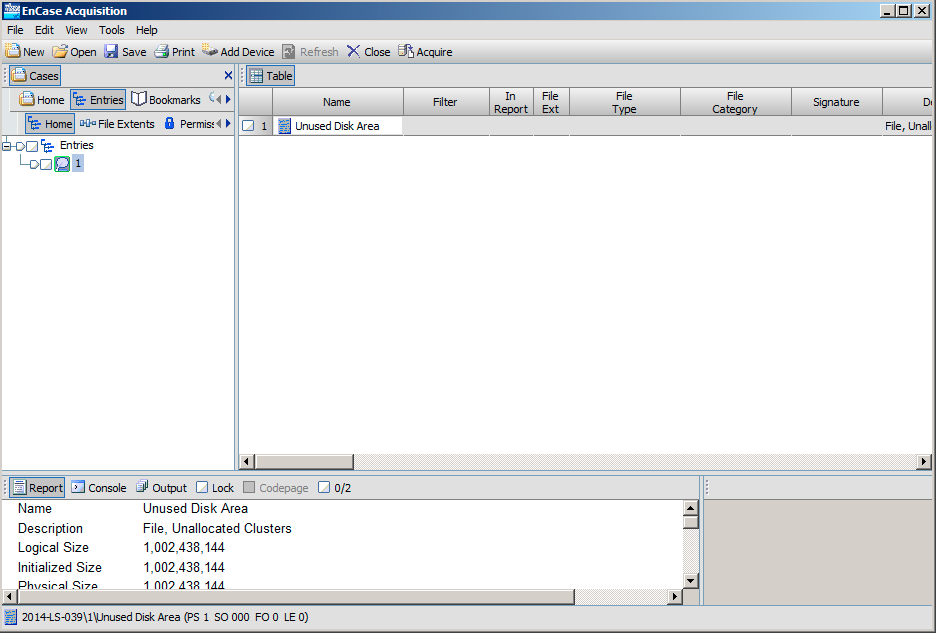
EnCase scans the device for partitions and then displays a summary of the results. It may take a few minutes, depending on the side of the hard drive, so be patient. Once the list of partitions appears, check it to see if everything is as you expect. Then click Finish to continue. EnCase will add the device into the current case. In the entries pane on the left, you will see an entry appear. If you are working in Acquisition mode, as one normally does at this stage, you’ll see the physical volume, but will be unable to view the file structure, as shown below. Note that this behavior is one of the reasons we recommend FTK Imager.
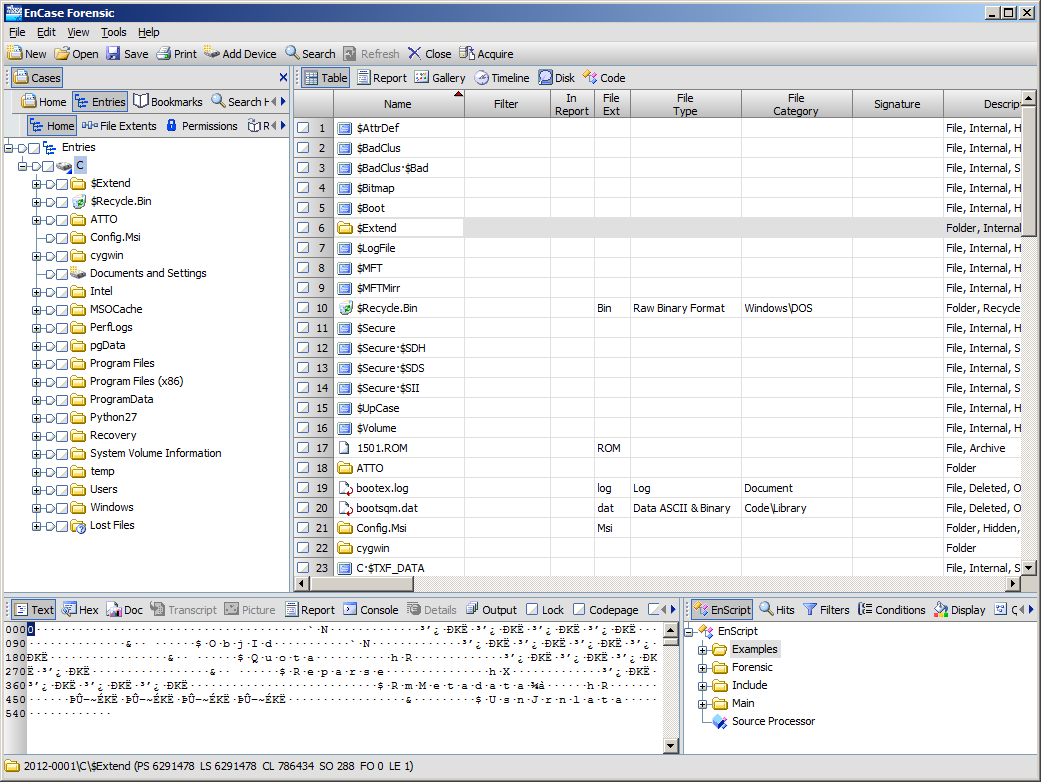
If, however, you carry a license with you at all times, you can click the + sign to open the tree and inspect the detected file systems, as shown below. Note that this figure shows an example of a Windows system volume, and not our 1GB memory stick.
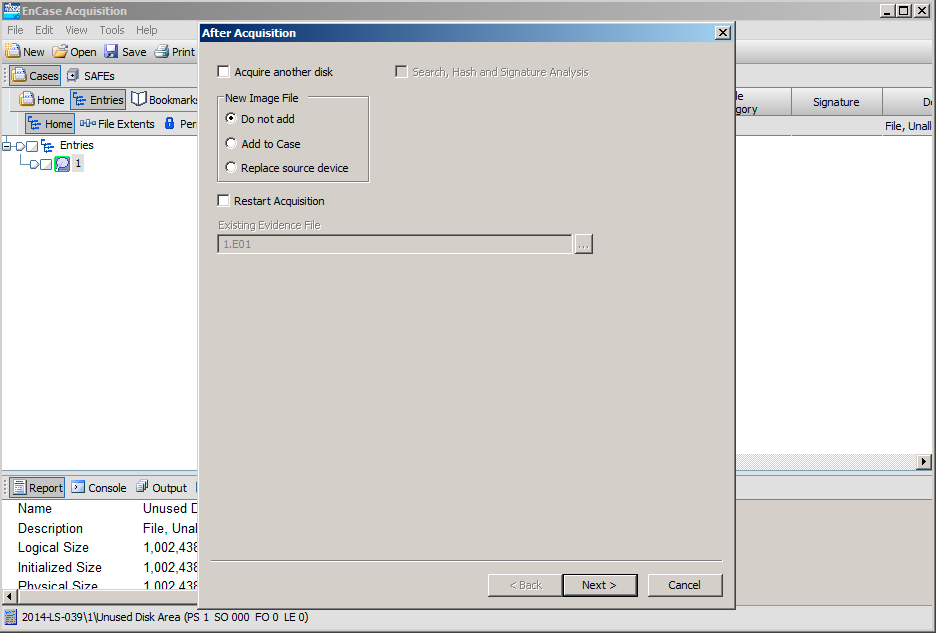
To create an image, select Edit | Acquire from the menu. EnCase prompts for any post-acquisition tasks you might want to perform, as shown below.
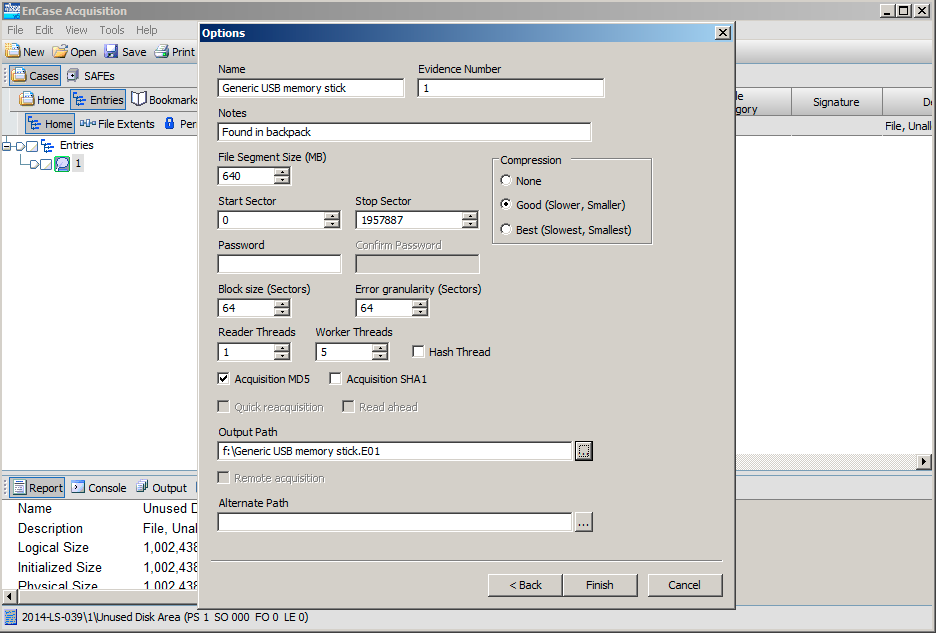
If you only plan to create an image, select the “Do not add” option and then click Next. This will bring up the available options for the image creation, as shown below. You can set the output path, image name, segment size, compression, and a few other options.
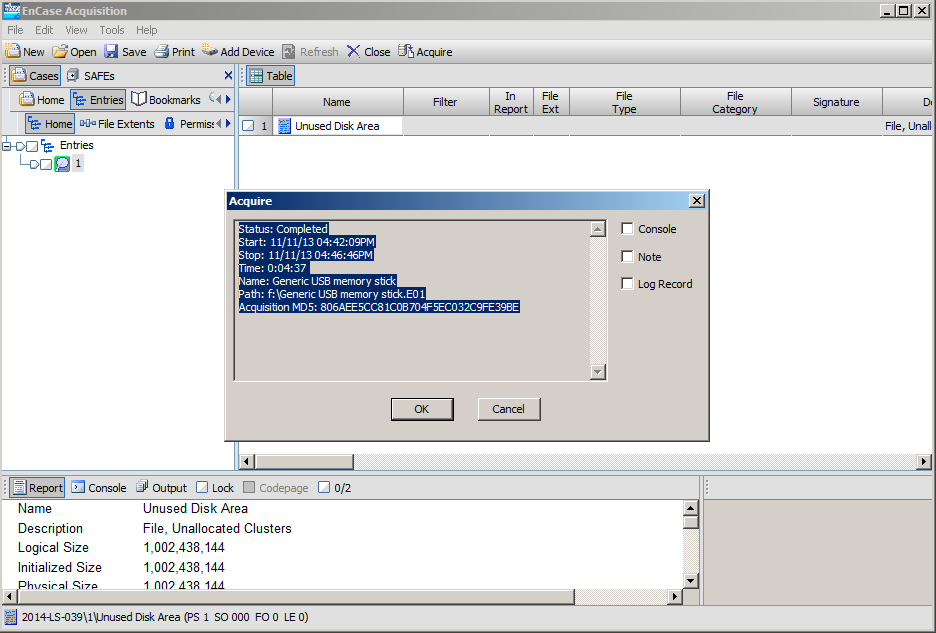
Once you’ve made your selections, click Finish to initiate the image-creation process. EnCase returns to the main screen view, and displays a status in the lower-right corner of the application. When the acquire process completes, a status window appears and will display summary information, as shown below.
The imaging process is now complete. If you wish to verify the image, you can add the file to your current case ,and EnCase will automatically begin to verify it. If you are done, you can close EnCase and then power down and disconnect the source drive.