Chapter 8 – FTK Imager Walkthrough
Just like our sample scenario with DC3dd, we will create an image of a 1GB USB drive that is already attached to the current system through a physical write blocker. In this case, we are using a Windows-based analysis system, and FTK Imager is fully installed. Launch FTK Imager, and the initial window will appear, as shown below.

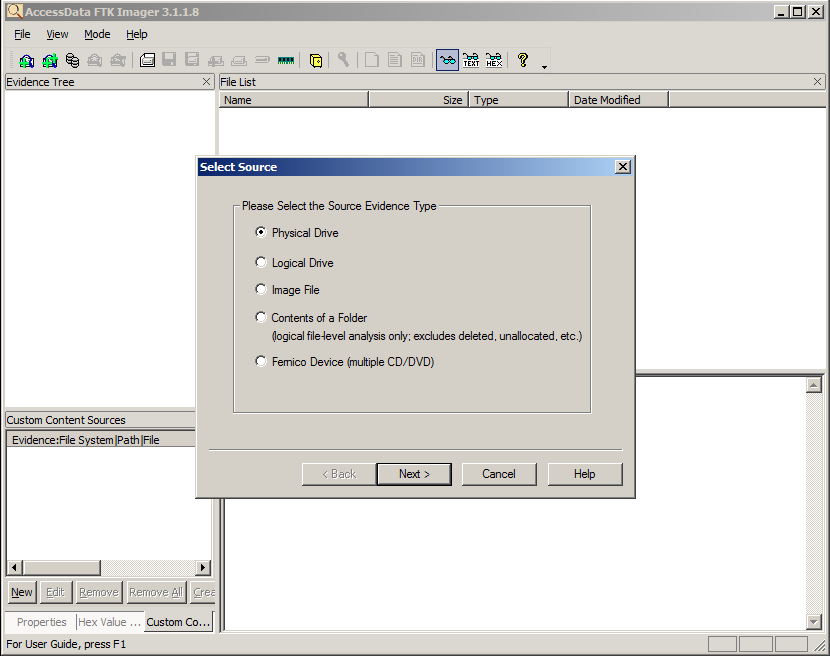
Go to the File menu and select Create Disk Image. FTK Imager will then prompt you to select the type of source, shown below. In this case, we have a physical drive connected directly to our system, so we choose the Physical Drive option.
After the Physical Drive option has been selected, FTK Imager will poll the system for attached devices and present a pull-down list, as shown below. The list contains all physical devices the system recognizes. If your source drive is not present, the operating system is not properly detecting the drive, and you will have to troubleshoot. Select the device, taking care that you are choosing the correct one.

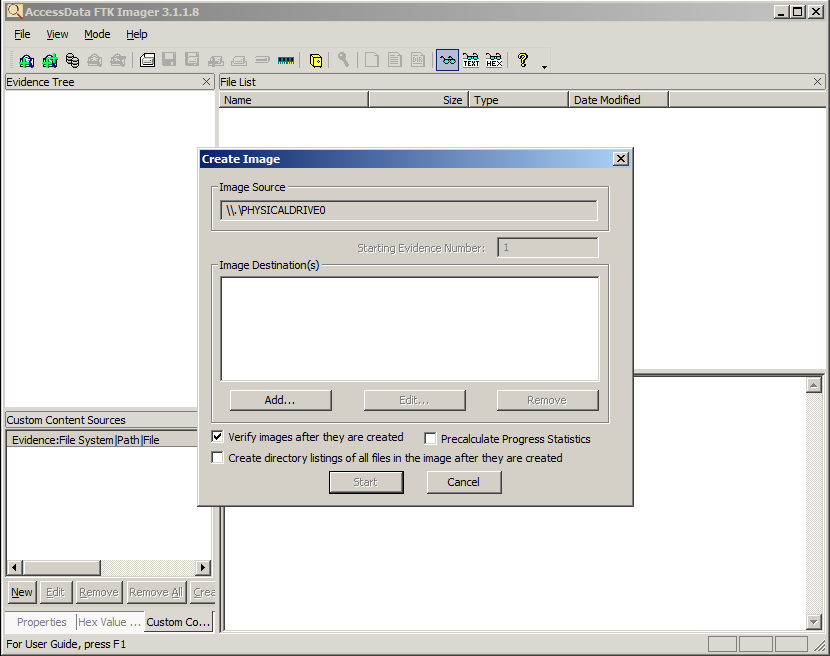
Now that you have selected the source, FTK Imager requires you to specify the destination location and format. Click the Add button, shown below, and FTK Imager will walk you through adding a new destination.
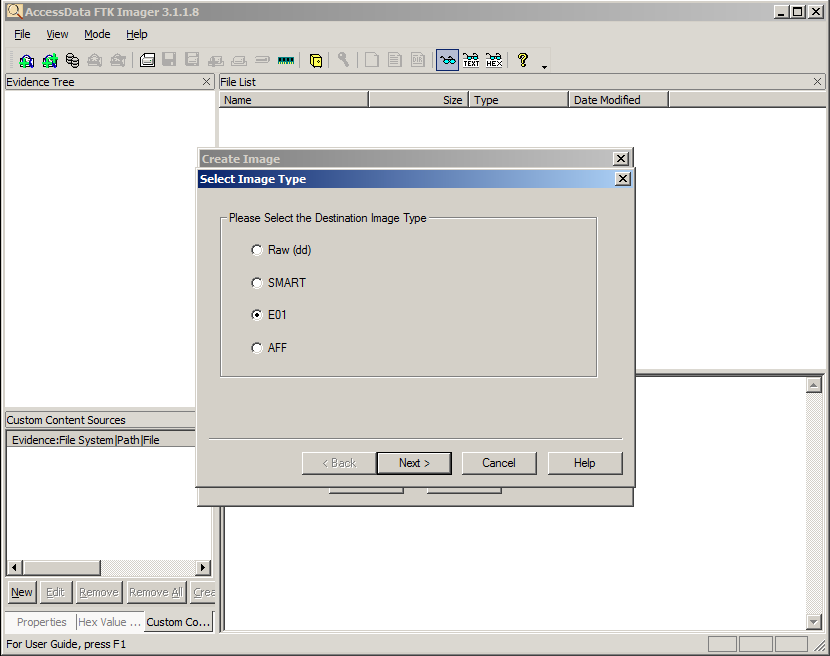
You can specify more than one destination as well as different formats. There are pros and cons to each format, such as compression, portability, and ease of use with certain forensic tools. Use the format your organization has chosen as the standard default, unless the situation warrants a different choice. The output format choices are shown below.
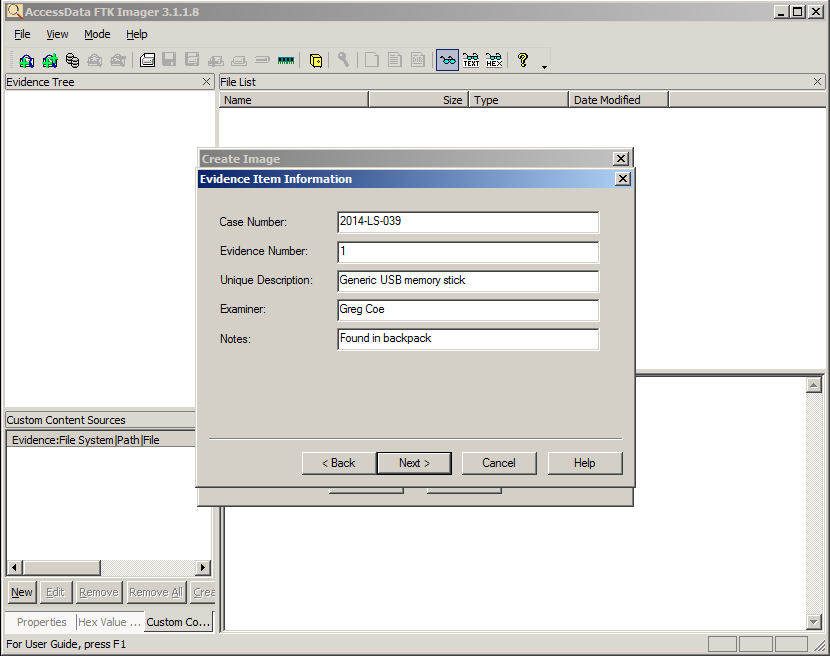
FTK Imager then allows you to record information about the case as well as about this specific drive. It’s a good idea to always fill out information that helps you to keep track of evidence—at a minimum, you should include the case number and evidence (tag) number. An example is shown below.
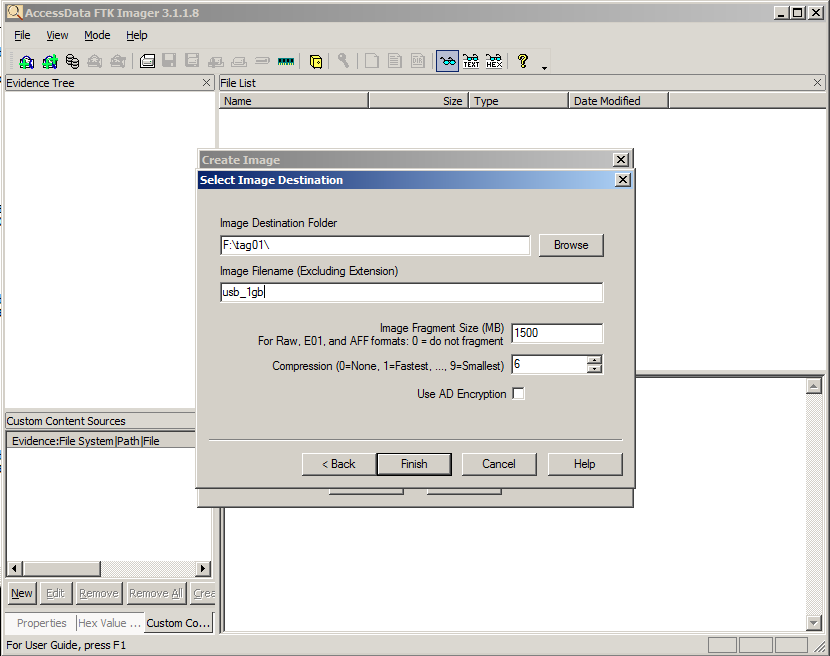
Then you will select the destination directory and filename, as shown below. At this point, you have completed specifying the output directory, filename prefix, image fragment size, and compression (if applicable).
FTK Imager then returns to the window where you can add additional output destinations. Once you are done entering destinations, there is one final option you will want to consider: “Verify images after they are created.” This option will, in general, double the amount of time the process will take. With this option checked, FTK Imager will also fully validate it can properly read the image that was just created. In some cases, this may be critical—such as cases where you don’t expect you can gain access to the drive again.
Once you click Start, FTK Imager will display the creation progress, as shown below. Normally, FTK Imager will continue past errors and fill those bad portions with null values. FTK Imager also creates a log file that records the cryptographic checksums of the overall image as well as other information about the session. The log file is stored in the same directory as the image destination.

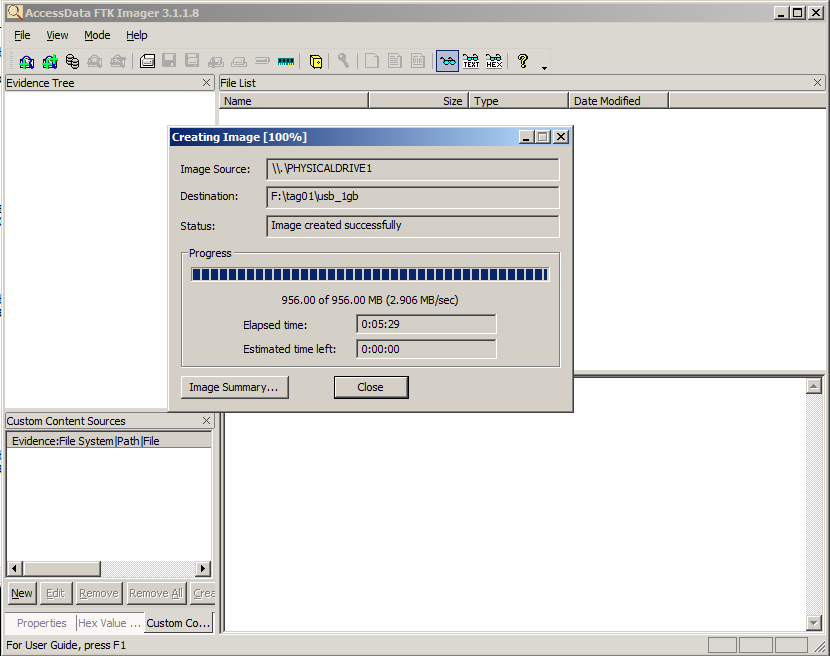
Once the image is complete, the status box will update as shown below to indicate “Image created successfully.” At this point, the imaging process is complete. You can close FTK Imager and then power down and disconnect the source drive.
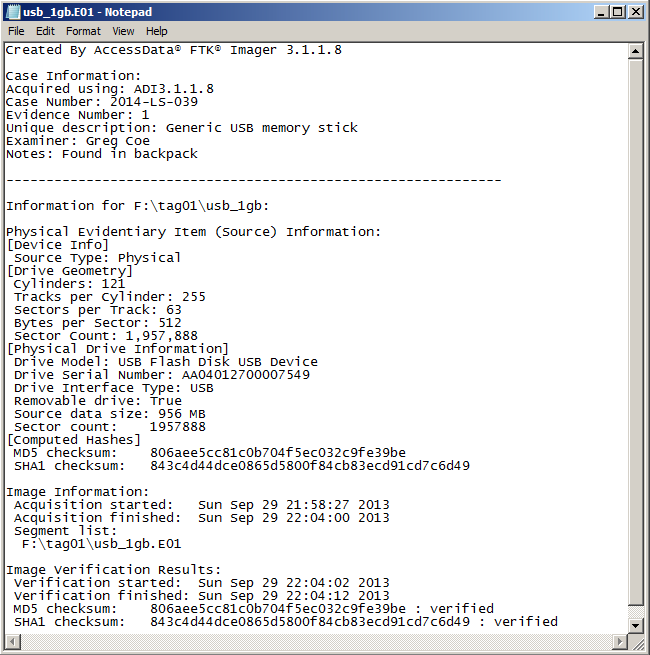
As mentioned earlier, FTK Imager keeps a log file of the session, saved in the same directory as the image. The log file’s name is the same name as the first image file in the sequence, but with a .txt extension. For example, if you specified to create an E01 image, with a filename prefix of usb_1gb, the first image segment would be usb_1gb.E01 and the log file would be usb_1gb.E01.txt. The typical content of an FTK Imager log file is shown below.